Unusual Baking Tools For Coconut Cake
Unusual Tools for Achieving the Perfect Coconut Flakes
For attaining perfectly toasted coconut flakes, think beyond the usual baking sheet. A wok or a cast iron skillet presents unparalleled control and even heating, resulting in constantly golden-brown flakes with a delightful aroma.
The high sides of a wok prevent the coconut flakes from scattering in the course of the toasting course of, guaranteeing even browning.
The curved base facilitates fixed motion, crucial for stopping burning and attaining a uniform color.
Similarly, a cast iron pan’s glorious heat retention permits for a slower, more even toasting process.
Its heavy weight ensures constant temperature distribution across the floor space.
Begin by preheating your chosen tool over medium-low heat. This is crucial for light toasting and avoiding scorching.
Add the coconut flakes in a thin, even layer, guaranteeing they are not overcrowded.
For the wok, use a spatula or your hands to constantly stir and toss the flakes. The curved form makes this motion intuitive and efficient. Continuous motion is crucial to forestall burning.
In the cast iron pan, use a wooden or silicone spatula for stirring, taking care not to scrape the bottom too aggressively. The gentle rocking movement of the pan can help in reaching even browning.
The toasting course of should take round 5-10 minutes, relying on the heat and the specified stage of browning. Listen for a slight crackling sound, indicating the coconut flakes are releasing moisture and beginning to toast.
The colour should transition from a pale white to a rich, golden brown. Be vigilant to forestall burning; a deep brown signifies over-toasting.
Once toasted, immediately remove the coconut flakes from the warmth to prevent additional cooking.
Allow them to chill utterly on a wire rack or parchment paper. This prevents steaming and retains their crispness.
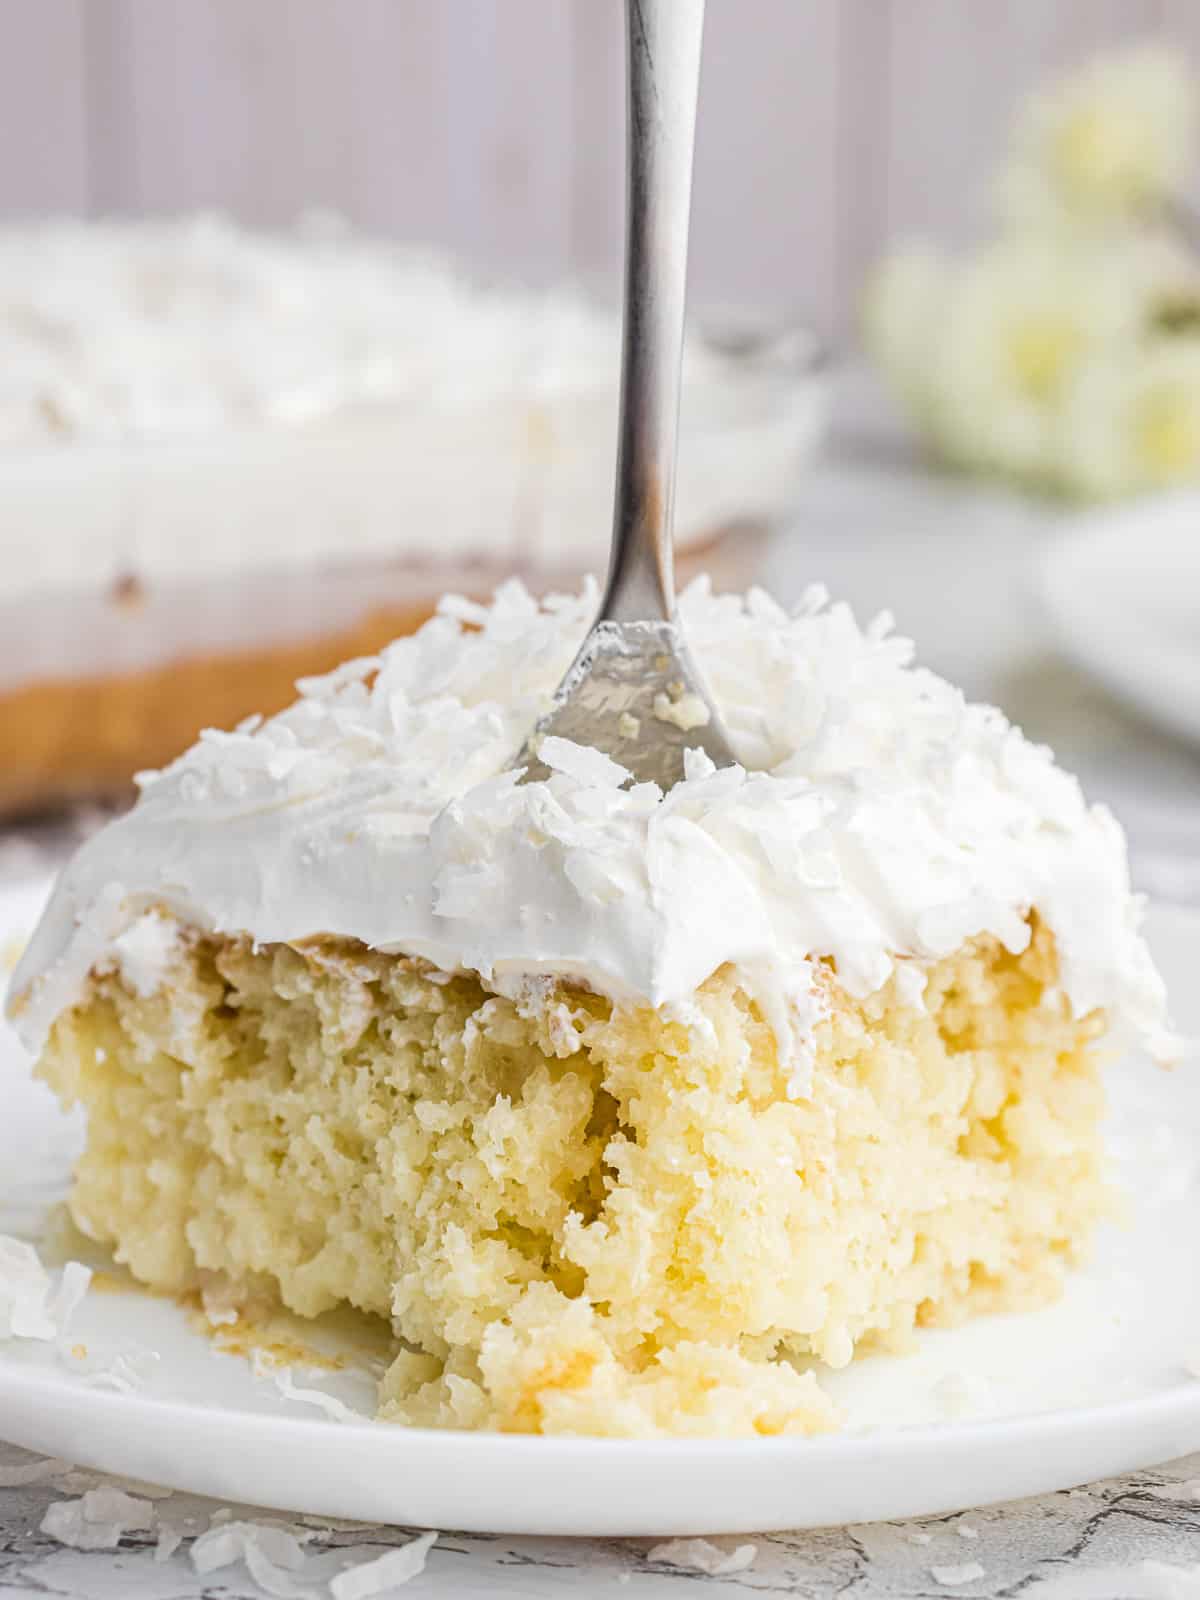
The resulting toasted coconut flakes will possess a deeper flavor and a satisfying crunch that elevates any coconut cake or dessert.
For a more intense flavor, contemplate adding a pinch of salt or sugar through the toasting course of.
Experiment with different ranges of toasting to search out your preferred shade and degree of crispness. Remember, patience and careful attention are key to achieving completely toasted coconut flakes.
Beyond the wok and cast iron skillet, different unusual instruments can be utilized; a large, heavy-bottomed saucepan supplies similar results. The precept remains the same: even heating, constant motion, and careful monitoring.
Using these strategies ensures the perfect complement to any coconut cake recipe, taking your baking to the following degree.
While a regular grater might seem adequate, achieving perfectly even, delicate coconut flakes for a truly exceptional coconut cake demands a extra refined strategy. Enter the food processor fitted with a shredding disc – an sudden however surprisingly effective software.
The key lies within the consistent motion of the rotating disc. Unlike the inconsistent strain of guide grating, the food processor’s shredding disc provides uniform strain across the complete coconut, resulting in flakes which may be all approximately the identical thickness and length.
Before commencing, prepare the coconut. If utilizing a whole coconut, fastidiously crack it open and take away the meat. You’ll want to remove the brown husk fully for optimal results; a pointy knife or even a sturdy vegetable peeler is beneficial right here. Once the coconut meat is extracted, minimize it into manageable chunks—approximately 1-2 inches in dimension. Larger pieces may overwhelm the food processor, resulting in uneven shredding and even jamming.
Choose a shredding disc with comparatively fantastic blades. A coarser disc will produce bigger, chunkier pieces, which, while appropriate for certain applications, may not be best for the delicate texture desired in a coconut cake. Some food processors even boast completely different thickness settings for varying shredding outcomes, allowing for a degree of customization.
Feed the coconut chunks into the meals processor’s feed tube in small batches. Avoid overcrowding, which might impede the shredding process and negatively impact the evenness of the flakes. Pulse the food processor briefly bursts—a few seconds at a time—to forestall over-processing and the creation of coconut paste. Regularly examine the consistency of the flakes and stop once they attain your required fineness.
For added finesse, consider using a meals processor with a pulse function. This presents even larger management over the shredding process, permitting for more precision in reaching the perfect flake size. This stage of management reduces the possibilities of creating excessively nice coconut powder or overly giant, uneven pieces.
Once shredded, gently unfold the coconut flakes on a baking sheet lined with parchment paper. This allows for even drying and prevents the flakes from sticking collectively. If desired, you’ll be able to lightly toast the flakes in a preheated oven at a low temperature (around 250°F or 120°C) for a couple of minutes to reinforce their taste and create a subtly caramelized edge.
The ultimate result? Perfectly even, delicately shredded coconut flakes, ensuring your coconut cake boasts not solely delicious flavor but also a visually beautiful, uniform texture. This unexpected use of a meals processor elevates the humble coconut flake from a easy ingredient to a meticulously crafted component in your baking masterpiece.
Remember to clean your food processor instantly after use, significantly the shredding disc, as coconut may be sticky and troublesome to remove once dried.
Experiment with different coconut varieties – younger, tender coconuts might produce a slightly completely different texture in comparison with mature coconuts. Adjust your pulsing approach accordingly to achieve your desired consistency.
Beyond cakes, this technique opens up a world of prospects for incorporating beautifully shredded coconut into different baked goods, from muffins and cookies to macarons and meringues, constantly elevating the feel and presentation of your creations.
Forget the standard grater; let’s explore unconventional instruments for attaining perfectly textured coconut flakes and decorative shavings for your coconut cake.
A vegetable peeler, surprisingly, presents a unique strategy to creating long, thin coconut flakes. Holding the coconut firmly, use the peeler to carefully shave off ribbons of flesh, aiming for constant thickness.
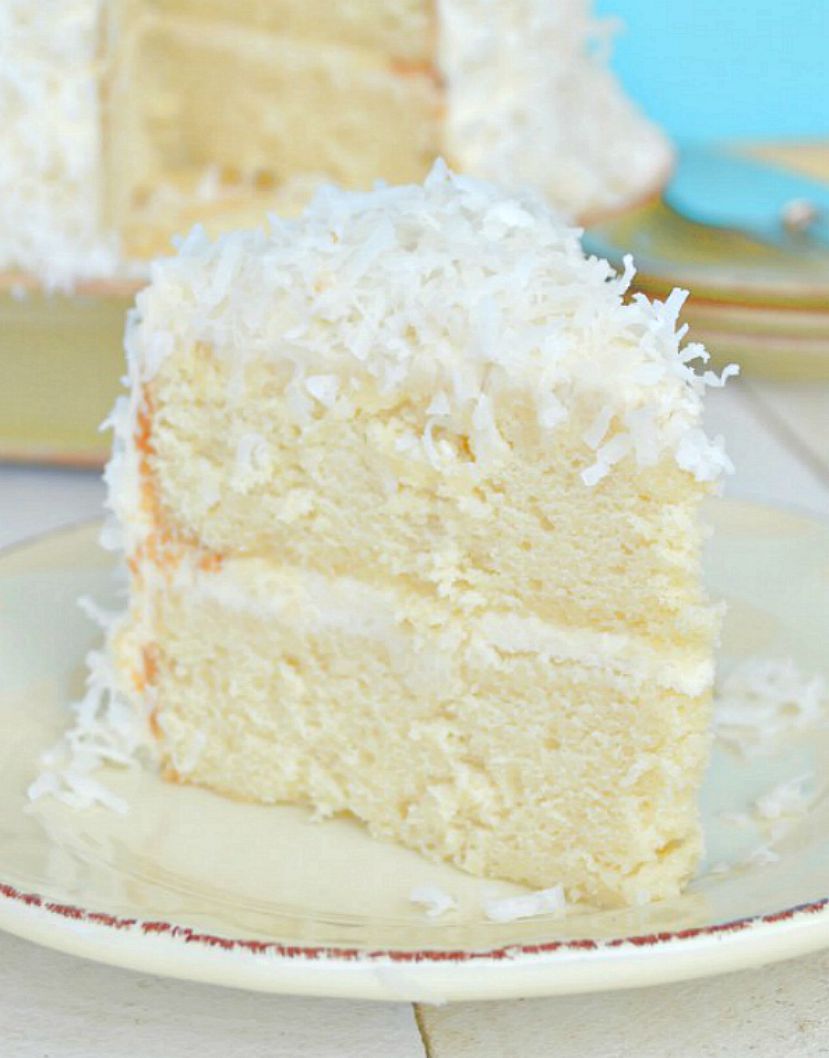
These lengthy, delicate shavings add a sublime contact to the cake’s frosting or can be used to create stunning garnishes.
The key here is a sharp peeler and a gentle hand to stop breaking the coconut ribbons.
For a extra rustic, thicker flake, use a much less sharp peeler, or apply much less stress through the peeling course of. Experimentation is key!
Consider the sort of coconut you would possibly be using. Fresh coconuts will be easier to peel than pre-shredded desiccated coconut.
Moving on to a different sudden software: the microplane. This fine-grating tool is typically used for zesting citrus fruits, however its nice teeth excel at creating extremely fine coconut shavings.
Using a microplane for coconut yields extremely delicate, almost powdery, shavings.
These fantastic shavings are excellent for dusting the highest of your coconut cake, creating a delicate textural contrast, or incorporating into frostings for added sweetness and delicate coconut taste.
Be cautious to not apply an excessive amount of pressure, as this could clog the microplane.
Regularly clean the microplane throughout use to stop sticking and guarantee constant shaving.
The microplane’s fantastic grating also produces a much finer texture than a box grater, lending itself to specific decorative applications.
Consider utilizing a combination of each tools – the vegetable peeler for bigger, ornamental ribbons and the microplane for a fine dusting or incorporation into the frosting.
For occasion, you may use the peeler to create a “coconut nest” on top of the cake, then use the microplane’s shavings as a “snow” dusting over the nest.
To further enhance your decorative capabilities, consider using food-safe dyes to add shade to your coconut shavings.
Before using any uncommon device, at all times guarantee it’s clean and thoroughly dry to stop any contamination of your components.
Remember to apply your approach with a small amount of coconut before tackling the principle batch, guaranteeing you’re snug with the software and achieve the specified consistency.
With a little follow and experimentation, these unusual instruments will allow you to create stunning, distinctive, and flavorful coconut cake decorations, far surpassing the results of normal graters.
- Vegetable Peeler Benefits: Creates long, elegant ribbons; adaptable for various thicknesses.
- Microplane Benefits: Produces exceptionally fantastic, almost powdery shavings; perfect for dusting and incorporation into frostings.
- Combined Use: Leverage each instruments for layered texture and visual appeal in your cake decoration.
- Creative Applications: Experiment with shade, layering, and placement for unique and eye-catching designs.
Innovative Techniques for Coconut Cream & Frosting
Achieving a cloud-like consistency in coconut cream for frosting requires careful method and the right tools. A stand mixer with a whisk attachment is ideal for this task, providing superior control and effectivity compared to handbook whisking.
Chill the Cream: This is paramount. Thoroughly chilled coconut cream (the thick, solidified portion from a can, not the skinny liquid) separates more easily and whips to a higher volume. Refrigerate for no less than 12 hours, ideally 24.
Careful Scooping: Avoid incorporating any watery liquid from the bottom of the can. Use a spoon to carefully scoop out solely the thick, strong cream, leaving the liquid behind. Even small quantities of liquid can hinder whipping.
Gradual Incorporation of Sweetener: Start by whipping the chilled coconut cream on medium velocity till it begins to thicken. Gradually add your chosen sweetener (powdered sugar is most popular as a result of its nice texture and ease of incorporation). Too a lot sweetener added too quickly will inhibit whipping.
Speed Control: Begin on medium pace, gradually rising to medium-high as the cream thickens. Avoid excessive speed initially, as this could incorporate too much air and lead to a grainy texture.
Stabilizer (Optional): A small quantity of stabilizer, such as xanthan gum or guar gum (1/4 teaspoon per cup of cream), can help create a extra secure and fewer likely-to-separate frosting. Add this together with the sweetener.
Flavor Boosters: Incorporate flavorings such as vanilla extract, coconut extract, or even a contact of lime or orange zest during the ultimate levels of whipping. This helps distribute the flavor evenly.
Over-Whipping Prevention: Over-whipping can lead to a grainy or separated texture. Stop whipping as soon as the specified consistency is achieved. The cream ought to be light, fluffy, and maintain its shape, similar to whipped cream.
Unusual Baking Tools for Enhanced Texture and Efficiency:
-
A fine-mesh sieve: Sifting powdered sugar before including it to the coconut cream ensures a smoother, lump-free frosting. It also helps avoid incorporating excess air.
-
A temperature probe: Maintaining the proper temperature through the whipping course of is crucial. A temperature probe allows for precise monitoring and helps forestall the cream from changing into too warm and separating.
-
A Kitchen Scale: Precise measurements are vital for attaining a consistent texture. A kitchen scale allows for accurate measurements of the coconut cream and powdered sugar, enhancing the reproducibility of the recipe.
-
A silicone spatula: A silicone spatula is helpful for scraping down the sides of the bowl in the course of the whipping course of, guaranteeing all the cream is integrated and stopping uneven whipping.
-
A pastry bag with various ideas: These instruments are important for decorating the coconut cake with the whipped coconut cream frosting. Different tips allow for a variety of decorative types.
By utilizing these techniques and instruments, you’ll have the ability to create an opulent, cloud-like coconut cream frosting that elevates any coconut cake.
Coconut cream and frosting, while scrumptious, can sometimes present textural challenges. Achieving that coveted smooth, silky end requires cautious method and, typically, somewhat innovation. Enter the immersion blender, a surprisingly versatile device for elevating your coconut-based creations.
Beyond the standard whisk and mixer, the immersion blender provides a novel benefit: precise management and in-situ processing. This eliminates the need for transferring mixtures between bowls, decreasing the chance of lumps or separation. For coconut cream, its powerful blades efficiently break down any lingering coconut fibers, making a supremely smooth base on your frosting.
Incorporating the Immersion Blender:
-
Pre-preparation is key: Ensure your coconut cream is correctly chilled. This permits for simpler separation of the cream from the water. Scoop out only the thick, creamy prime layer, leaving the watery liquid behind.
-
Gentle blending is essential: Start on a low velocity, steadily increasing as wanted. Avoid excessive speeds for extended durations to forestall incorporating an extreme quantity of air, which may lead to a much less steady frosting.
-
Adding components incrementally: If including powdered sugar or other dry ingredients, incorporate them slowly whereas the blender is working. This prevents clumping and ensures even distribution. Start with a small amount, mix until easy, then add more as wanted.
-
Controlling temperature: Keep the coconut cream cold all through the mixing process. A slightly cold bowl helps stop undesirable melting and separation.
-
Flavour infusion: The immersion blender’s energy makes it best for incorporating flavourings like vanilla extract, coconut extract, or even liqueurs. The nice emulsion created ensures uniform flavour distribution throughout the frosting.
-
Achieving totally different consistencies: By adjusting the blending time and the amount of liquid added (e.g., a touch of coconut milk or cream), you’ll be able to tailor the frosting’s consistency to your desired thickness. A shorter blend ends in a barely thicker frosting, perfect for piping decorations. Longer mixing may achieve a smoother, pourable consistency good for a simple frosting coat.
Beyond Basic Blending:
-
Whipped Coconut Cream: For a lighter, airier frosting, begin with whipped coconut cream. The immersion blender might help incorporate additional elements, guaranteeing a light and fluffy texture.
-
Infused Coconut Creams: Experiment with taste infusions! Blend in roasted coconut flakes for a deeper toasted flavor or add citrus zest for a bright and refreshing twist.
-
Stabilizing Agents: For frostings that need to hold their shape well, consider incorporating a small quantity of cream cheese or a stabilizer like xanthan gum. The immersion blender efficiently blends these ingredients, making a steady and creamy texture.
The immersion blender transcends its typical use for soups and sauces; it empowers bakers to attain a new stage of smoothness and sophistication of their coconut cream and frosting creations. By understanding the nuances of blending pace, temperature, and ingredient incorporation, you can unlock a world of creamy, luscious coconut-based delights.
Beyond the usual spatulas and mixing bowls, attaining actually revolutionary coconut cream and frosting designs in your cake requires embracing a wider array of tools.
For instance, a pressure washer (appropriately diluted and sanitized, of course!) can create incredibly fine, nearly ethereal textures on coconut frosting, yielding a novel, almost lace-like impact. This is ideal for minimalist designs.
Alternatively, contemplate a 3D meals printer. While nonetheless a niche item, it permits for exact replication of intricate designs and even the creation of personalised cake toppers made completely from coconut cream frosting, eliminating the need for added decorations.
When it involves piping, transfer past primary ideas. Invest in specialty piping tips similar to leaf suggestions, grass ideas, and even petal ideas for creating realistic floral parts from your coconut frosting. These, mixed with different sized piping bags, enable gradient results and numerous textures.
Russian piping tips provide unparalleled precision for intricate, nearly filigree-like designs. These require a barely stiffer frosting, which may be achieved by including a small quantity of powdered sugar or cornstarch to your coconut cream mixture.
Beyond the information themselves, the material of the piping bag can influence the end result. Silicone piping bags are reusable, simple to wash, and provide glorious management over pressure. Cloth piping bags, while requiring more dexterity, provide a more pure, much less precise flow, perfect for rustic or textured frosting.
To obtain actually unique patterns, think about using stencils. Laser-cut stencils produced from food-safe supplies can transfer precise designs onto the cake, guiding the appliance of coconut frosting. You can even create your personal stencils from acetate sheets.
Don’t underestimate the power of texture. Using a palette knife or even a fork can add an sudden, artisanal high quality to your frosting. Swirling, dragging, and dabbing with these tools allows for freeform and distinctive patterns.
For attaining extremely easy surfaces, consider using a cake turntable. This permits for even frosting software and easy rotation, essential for perfecting intricate designs that require symmetrical placement of parts.
For adding subtle accents or detailed highlighting, a fine-tipped paintbrush can work wonders. Use melted chocolate or even colored coconut cream thinned with a little coconut milk to create extremely fine details and highlights.
Beyond typical tools, assume airbrushing. A food-safe airbrush can create gradients, shading, and even delicate washes of shade on your coconut frosting, adding another degree of depth and artistry.
Finally, explore alternative piping methods. A simple ziplock bag with a corner snipped off can shock you with its versatility, particularly for creating simple swirls or splatters. Experimenting with completely different techniques and tools opens up a world of artistic prospects.
Remember, the key to truly revolutionary coconut cake frosting is experimentation and pushing the boundaries of conventional methods. The tools listed above are just a starting point; your imagination is the last word restrict.
Beyond the Basics: Unconventional Tools for Extra Flair
Beyond the essential mixer and measuring cups, elevating a coconut cake to extraordinary levels calls for a foray into the unconventional.
A smoke gun, for instance, is not your typical baking software, but its potential to infuse subtle smokiness into coconut’s naturally sweet profile is plain.
The key’s moderation. A heavy-handed method will overpower the delicate coconut flavor; instead, purpose for a whisper of smoke, a delicate enhancement rather than a dramatic transformation.
Consider smoking the coconut flakes themselves. Lightly toast them in a dry pan first to deepen their shade and enhance their natural sweetness, then introduce the smoke gun for 30-60 seconds, repeatedly transferring the flakes to make sure even publicity.
Alternatively, you would infuse the coconut cream or milk used within the cake batter. Place the cream in a shallow dish, and really gently smoke it, monitoring fastidiously to prevent overheating and curdling.
For a extra complicated taste profile, experiment with totally different wooden chips in your smoke gun. Hickory provides a subtle sweetness and nuttiness that complements coconut nicely, whereas applewood provides a lighter, fruitier observe.
Mesh strainers become invaluable right here. If smoking coconut cream, a fine-mesh strainer will ensure a perfectly smooth texture, preventing any undesirable woody particles from ending up in your batter.
Beyond the smoking process, consider incorporating different uncommon tools to reinforce the presentation and texture of your coconut cake.
A piping bag fitted with various suggestions permits for exact ornament, creating intricate swirls and patterns that showcase the cake’s creamy texture.
Silicon molds can be employed to create individual coconut cake pops, offering a enjoyable, moveable variation on the classic cake format.
A blowtorch can create a beautifully caramelized top layer, including a textural distinction to the gentle, fluffy inside. However, extreme warning is advised with a blowtorch; always use it in a well-ventilated space and preserve a secure distance to prevent burns.
Even a simple citrus zester may be surprisingly useful, creating fantastic coconut shreds for garnish, adding a visually appealing textural element to the finished cake.
Remember that these unconventional instruments are all about including layers of taste and texture. Start subtly, experiment cautiously, and most significantly, taste as you go. The good coconut cake is a delicate stability, a harmonious mix of techniques and ingredients.
The goal isn’t to overwhelm the palate, but to coax out the most effective of the coconut’s inherent deliciousness, unveiling its full potential via revolutionary approaches and cautious method.
By thoughtfully using these unusual instruments, you’ll transform your coconut cake from a easy dessert into a culinary masterpiece.
Each rigorously thought of step, from smoking the coconut to exactly piping the frosting, contributes to a novel and unforgettable experience.
Don’t be afraid to experiment, to embrace the surprising, and to craft a coconut cake that’s really your individual.
While a cookie press may appear an unconventional software for coconut macaroons, its use unlocks a shocking degree of management and visible interest, shifting past the standard, often rustic, presentation.
Instead of the acquainted, haphazardly-shaped mounds, a cookie press allows for precise, uniform macaroons, best for creating visually interesting arrays on a cake.
The possibilities are endless: you probably can craft delicate, evenly sized discs, good for a neat and complicated cake decoration.
Alternatively, experiment with the press’s various attachments. Star-shaped macaroons add a festive touch, while spherical macaroons with scalloped edges offer a extra elegant really feel.
The consistency of the coconut combination is essential for optimal results with a cookie press. Ensure it is moist sufficient to be simply extruded however agency enough to carry its form once piped.
Too much moisture will end in shapeless blobs, whereas a mix that’s too dry shall be tough to press and will crack.
Consider utilizing a barely chilled mixture for higher management and to stop the macaroons from spreading an extreme quantity of during baking.
The cookie press additionally provides the advantage of constant size and thickness, leading to evenly baked macaroons. This is especially helpful when decorating a cake, guaranteeing a uniform appearance.
For added texture and visual enchantment, consider incorporating toasted coconut flakes into the macaroon mixture. The contrasting textures and colors create a fascinating impact.
To additional enhance the visible impression, pipe the macaroons onto parchment paper in patterns. Arrange them in concentric circles, spirals, or even geometric designs earlier than baking.
Once baked and cooled, the exactly shaped macaroons could be delicately arranged across the perimeter of the cake, creating a surprising border.
They can also be used as accents, strategically positioned on the highest or sides of the cake, adding pops of texture and color.
Incorporating different colours into the macaroon mixture expands the artistic choices. A touch of food coloring can transform the macaroons into vibrant accents that contrast superbly with the cake’s frosting.
Beyond colour, consider including subtle flavor variations to the macaroons. A hint of lime zest, vanilla extract, or even a sprinkle of cinnamon can complement the cake’s taste profile whereas including another layer of interest.
Experiment with different piping methods to create a variety of textures and shapes. A light stress will create easy, refined macaroons, whereas a extra forceful press can yield a rustic, slightly textured look.
Don’t be afraid to get creative! The cookie press empowers you to explore the total potential of coconut macaroons, remodeling them from easy components into visually putting parts of a really spectacular cake.
Remember to thoroughly clear your cookie press after use, particularly if using different colors or flavors to stop cross-contamination.
Ultimately, using a cookie press for coconut macaroons on a cake elevates the complete baking expertise, remodeling a seemingly easy garnish into a showcase of talent and creativity.
Beyond the standard rolling pins and spatulas, crafting really unique coconut cake decorations requires embracing unconventional tools. Silicone molds, often relegated to soap making or ice dice creation, unlock a world of possibilities for including exquisite aptitude to your coconut confections.
Consider the versatility: intricate floral designs, miniature seashells completely mimicking the beachy essence of coconut, or even geometric shapes adding a contemporary twist. The prospects are restricted only by your imagination and the mildew selection out there.
Before diving in, ensure your chosen silicone molds are food-grade. This is paramount for safety and ensures your edible creations stay free from dangerous chemicals. Look for molds specifically marketed for meals use.
The course of begins with your coconut mixture. This could be a sweetened coconut cream, a dense coconut fudge, or maybe a fastidiously crafted coconut meringue. The consistency will dictate the best strategy to filling the molds.
For thicker mixtures like fudge, a spoon or small spatula works nicely for exact filling, avoiding air pockets and making certain a easy finish. For thinner mixtures, a piping bag could be advantageous, permitting for extra management and complex element in smaller molds.
Filling the molds ought to be done carefully, avoiding overfilling to prevent spillage through the setting process. Gently faucet the molds on a flat floor to take away any trapped air bubbles.
Setting time is determined by the recipe and the ambient temperature. Refrigeration usually accelerates the method. Allow ample time for the coconut combination to completely solidify before making an attempt to remove the creations from the molds.
Once set, gently flex the silicone mold to release your coconut masterpieces. Silicone’s flexibility makes this a relatively straightforward course of, minimizing the danger of breakage or injury.
The newly-formed decorations can then be used to adorn your coconut cake in a mess of the way. They may be strategically placed atop the frosting, organized alongside the cake’s sides, or even included into the cake layers themselves for an surprising shock.
Beyond basic shapes, think about experimenting with shade. Adding pure meals coloring to your coconut combination can enhance the visible influence, creating vibrant and crowd pleasing decorations that complement your cake’s general design.
For added texture, contemplate coating your silicone mould with a thin layer of melted white chocolate or even finely grated coconut before filling. This provides a delicate crunch and visual dimension to the ultimate product.
Don’t limit your self to only one sort of mould. Combining numerous sizes and shapes adds visual curiosity and complexity. Think cascading floral arrangements, geometric patterns, or even a whimsical collection of miniature coconut “jewels”.
Finally, consider the overall aesthetic of your cake. The coconut decorations should complement the general design, not compete with it. Choose molds and colors that enhance the cake’s theme and create a cohesive, visually beautiful dessert.
By embracing the flexibility of silicone molds, you’ll have the ability to transcend fundamental cake decoration and create coconut confections that are as distinctive and memorable as your baking skills.